Lesson 6 – Movements of SOFT POWDER technique
- And now let’s continue our classes
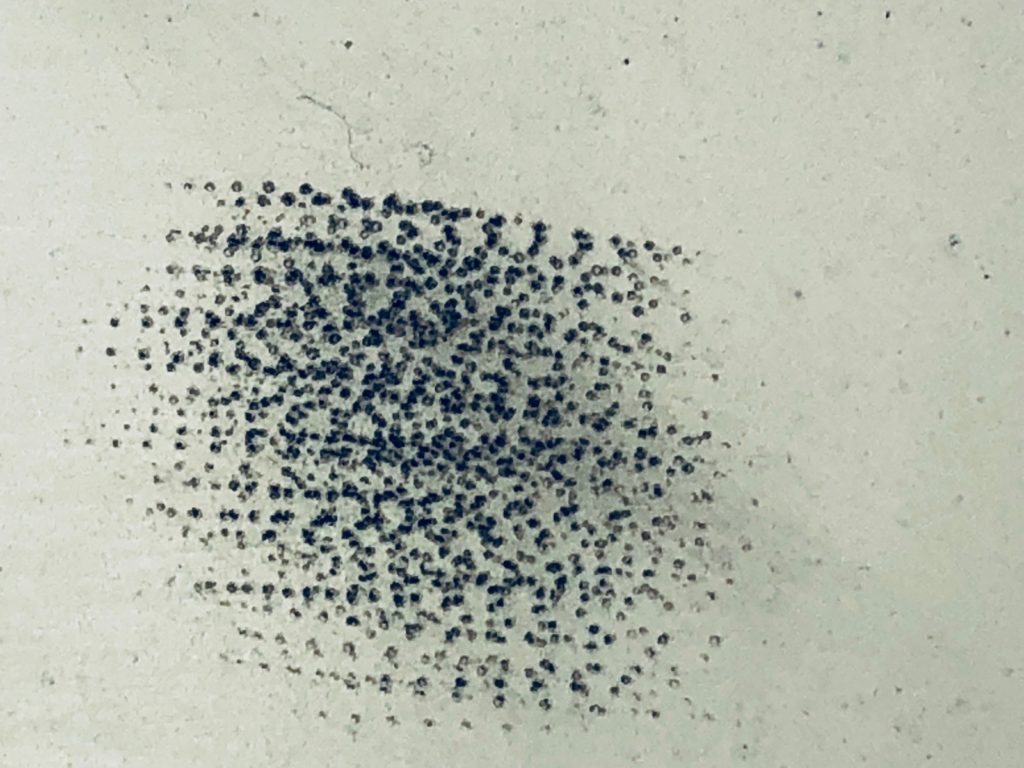
Basic movements of SOFT POWDER technique.
We see that the technique is:
- FAST/ LONG movements
- The hand should have a support and being placed on the face.
- The needle placed at 90 degrees however the angle can be changed.
- Movement of the ''pendulum'' in one direction towards you (you can do two sides movements, but not every skin allows to do it) I recommend a movement towards to yourself, it takes much time, but there is no risk to implant pigment too deep.
- Position of the hand with pen
- Movement direction of the tool, towards to yourself, the direction of motion parallel to the forearm.
This is explanation of the BASIC movements 👆🏻👆🏻👆🏻
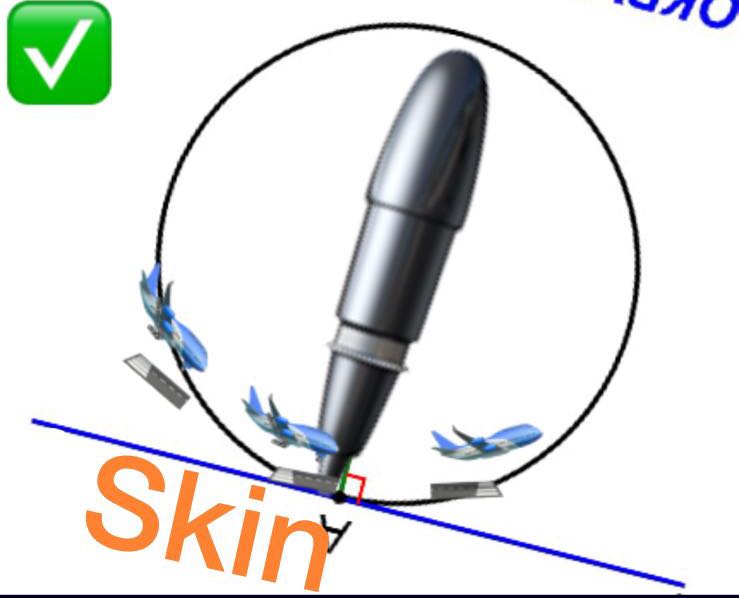
•Skin is tangent
•Machine is radius
•Our movements is CIRCLE
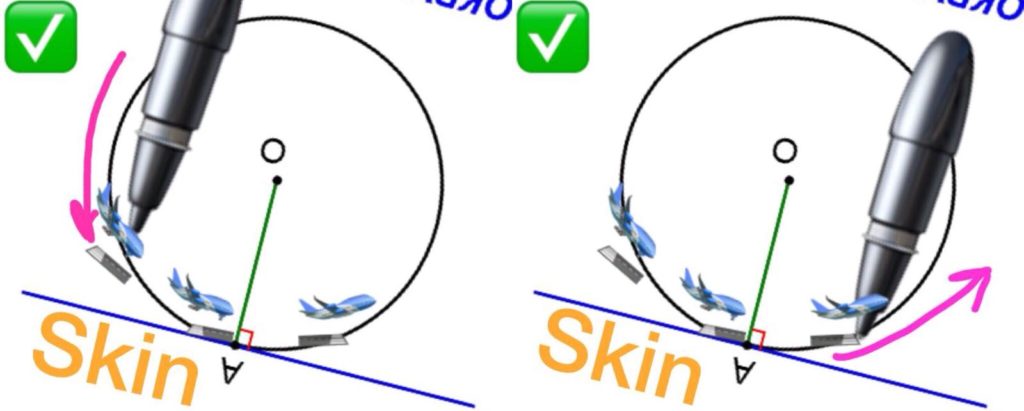
Can I call this movement
NEEDLE LANDING ?
Is it correct in English ? Understandable ?
Movements are the same for Ombre Technique
Common mistakes 😖
- Device position in the hand and the fixation of the brush on the skin is very important. When handle sits comfortably in the hand, and the hand is well fixed on
the skin and does not tear. It allows you to adjust the pigment implantation depth.
- Most of movements are basically did by fingers and a little bit by the hand. It's imitates rowing movement.
You can also compare this movement to drawing circles in the air and the needle touch the skin only on the tangent, and the input and output of the needle is carried out like landing and take-off of a plane.
- Equally important is applying the strokes evenly, the distance between them and the distance between the rows.
- Ok, now Practice
For practice you will Need :
1. Pen (not pencil ✏)
2. Paper
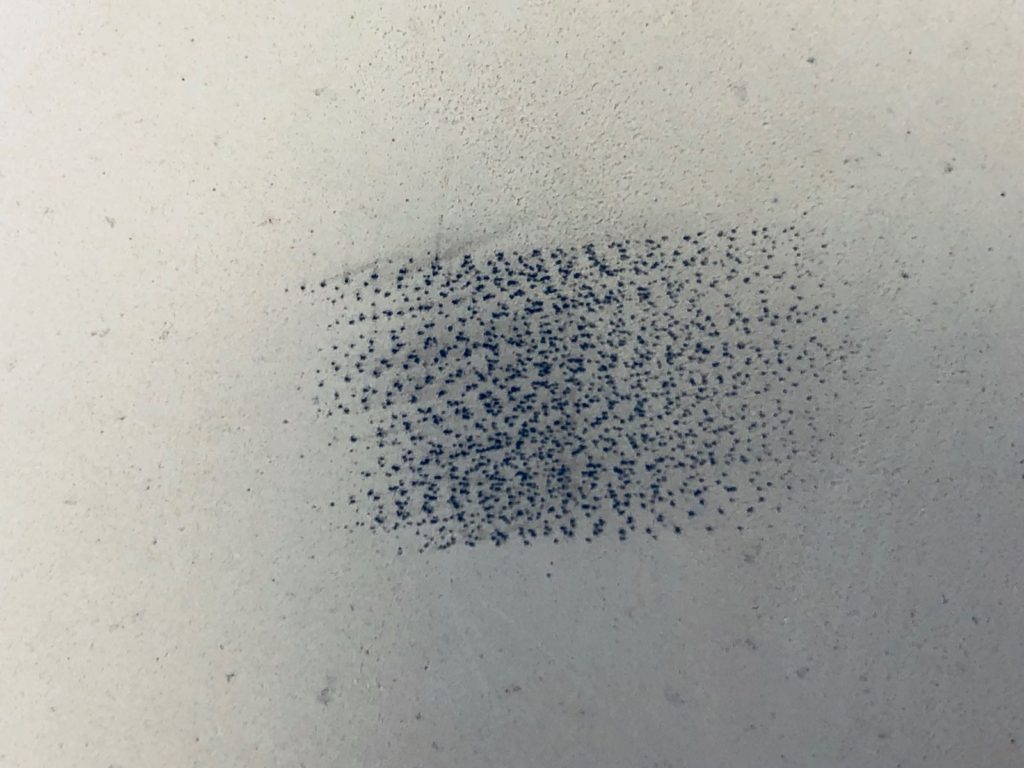
I want to see even color without dark spots and empty spots.
And when you'll be ready, try to do the same with machine and latex.
The next task is to do it on latex. To complete it you will need:
1.Latex
2.Machine
3.1 needle
4.Pigment
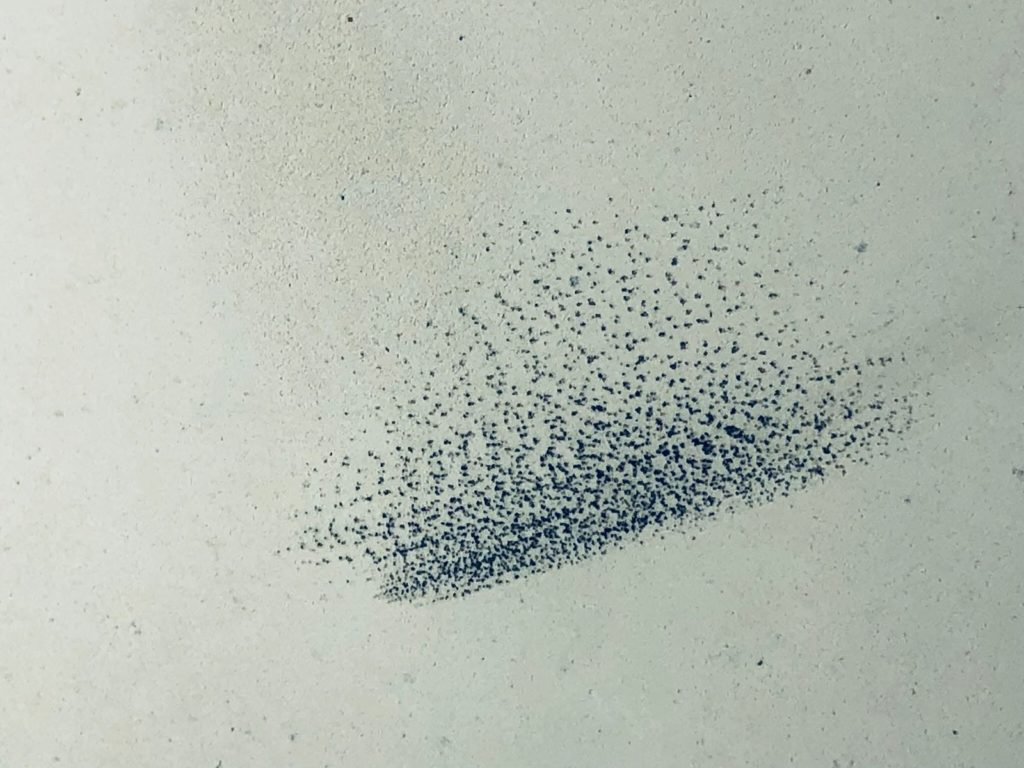
Ombré
One more video of full procedure, please enjoy 😉😊
This is for you, how to work with NOT POWERFUL devices.
More video for you ♥😍🤩 to improve your skills. This is what I want to see from you.
And more clear about HEAD of eyebrows, I'm using 3 different design for this.
1. It simple ombré head , just smooth gradient on the beginning. Made by strokes parallel to bottom line with the same density of color
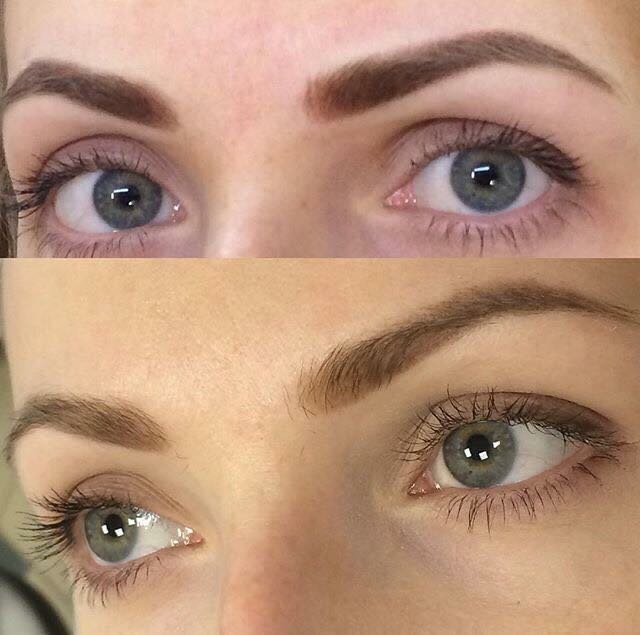
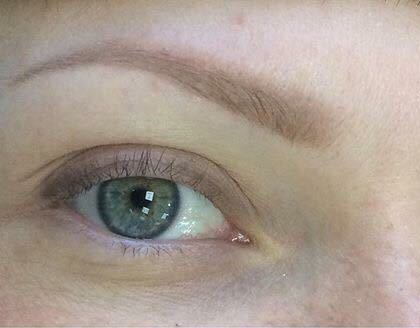
2. Is fluffy bottom line. In this design I do bottom line more dense by parallel strokes and make smooth gradient from dark bottom line to transparent upper line. I often use this little trick in my practice for get brows look brighter and more visible.
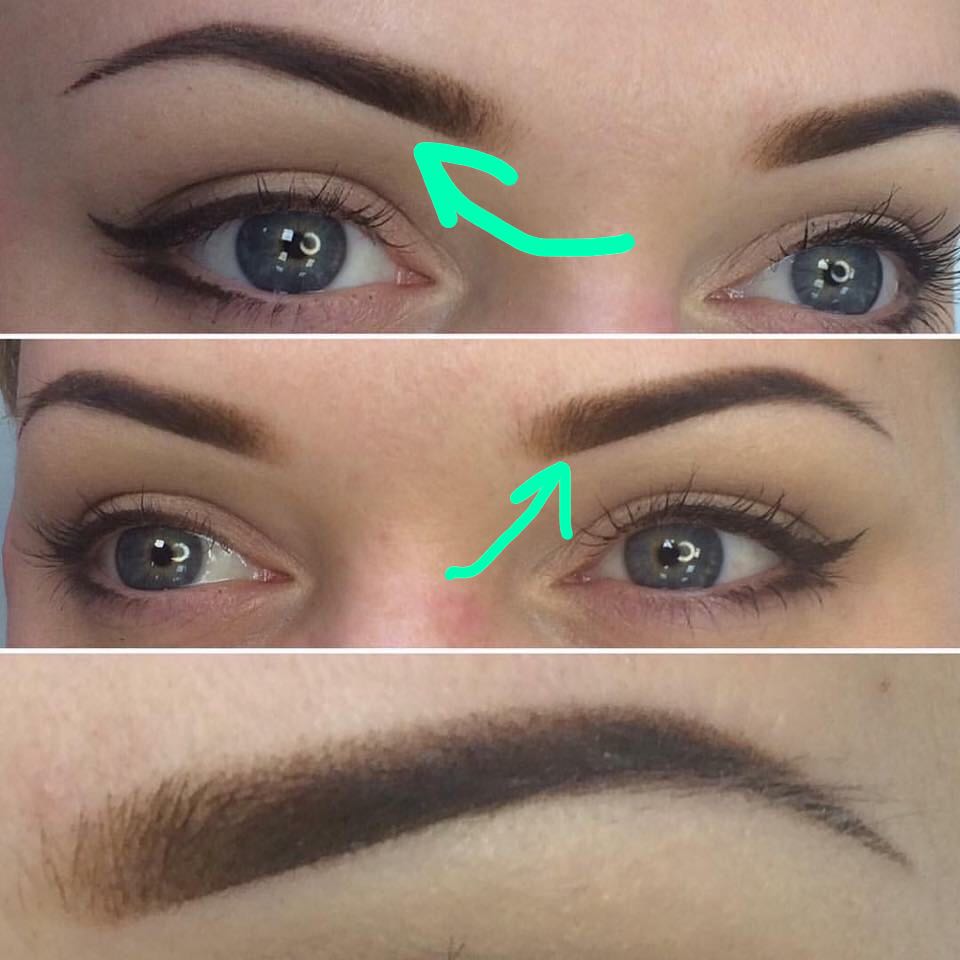
After healing it looks like this
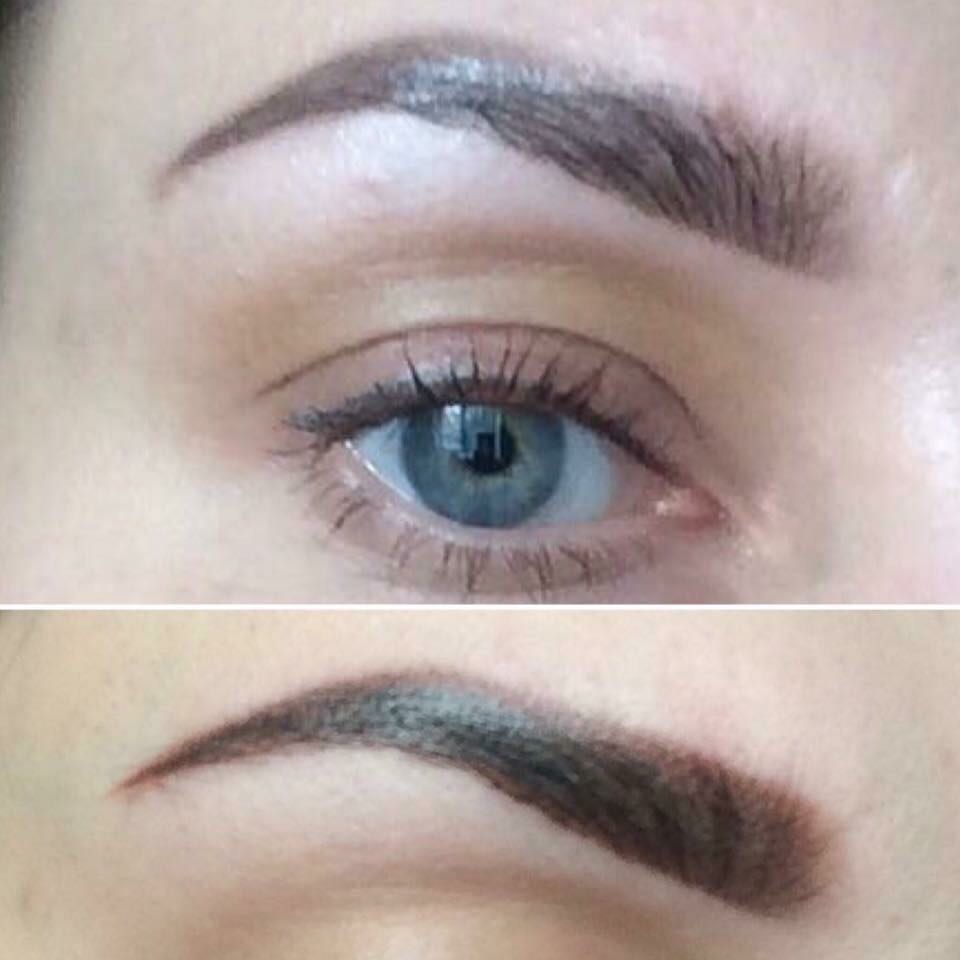
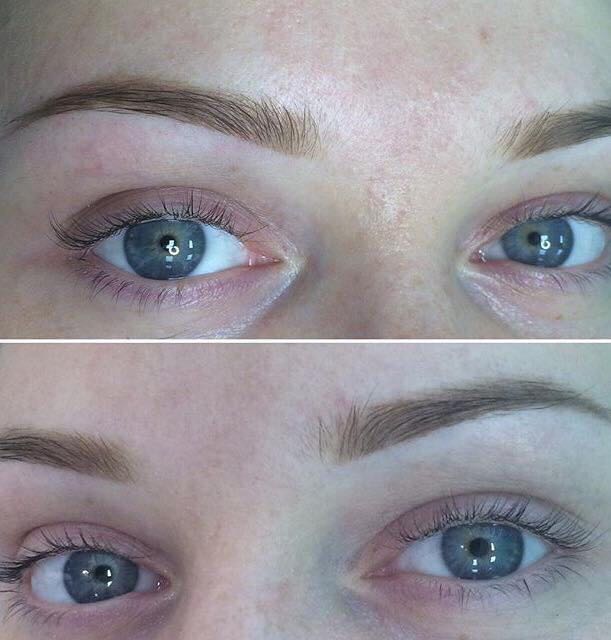
You see clear visible bottom line on the head of eyebrows
3. Fluffy head, I called this method SPRUCE BRANCH, because direction of strokes looks exactly like this. Diagonal strokes from the middle part to out the border helps to create super fluffy head without visible borders.
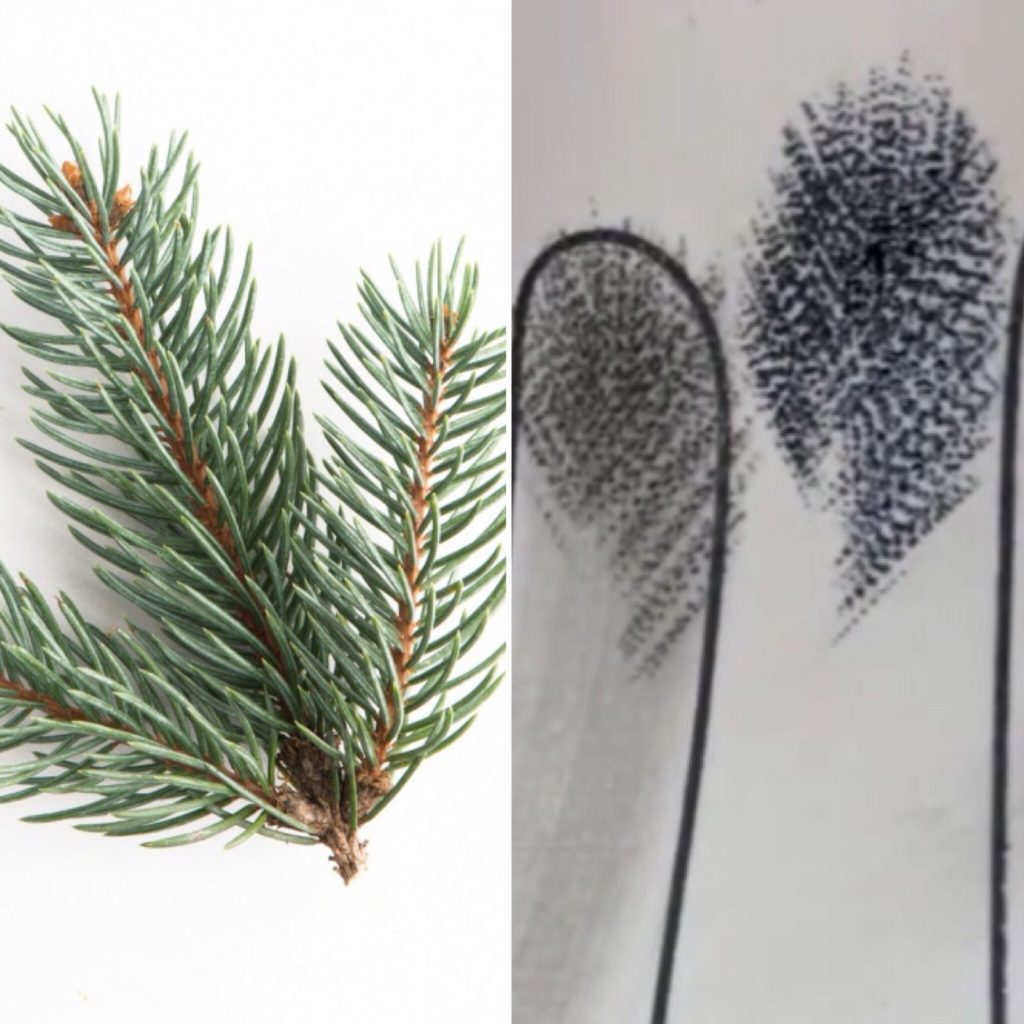
And on the skin it looks like this
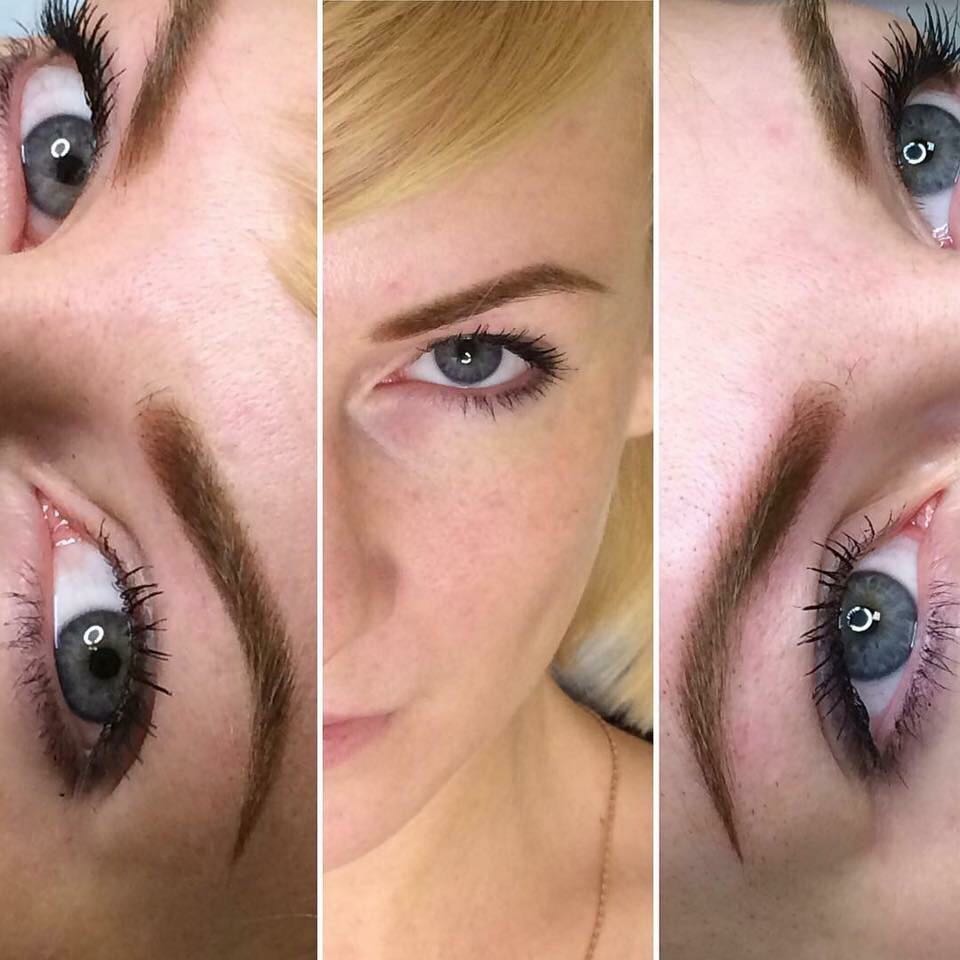
I want you to do two eyebrows by soft powder effect :
1. With fluffy line on the bottom
2. And one pure soft powdering brow, without visible borders
Check this video it’s about length and depth and you will see how consistence of pigment is important for right technique for soft powder we need watering inks and long needle.
Length is only about ink consistence and for soft powder we work just lightly touching skin, just by top of needle, as surface as possible, that’s why we work with fast movements to control the depth, how I know if it’s correct depth:
I see color into the skin after every pass it means I’m deep enough
Skin is not bleeding it means I’m not too deep
About depth
We are always work as surface as possible just by the tip of the needle, never try to work deeper
Surface techniques always look more beautiful , not flat and not bluish
For bright expensive looking results work as surface as possible
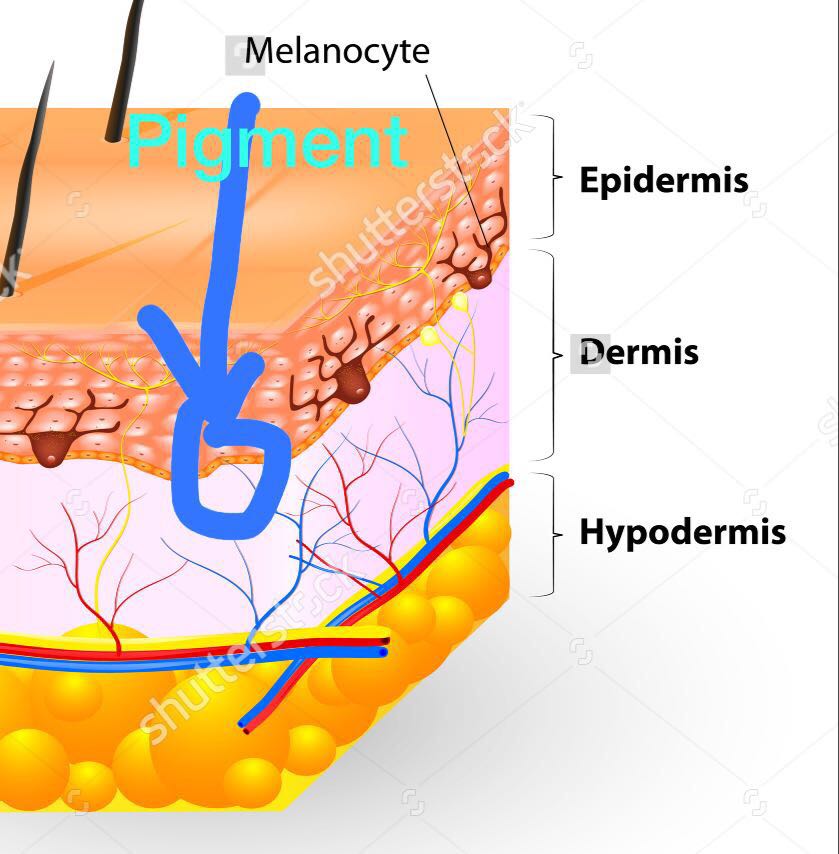
We are working on this depth around basal membrane
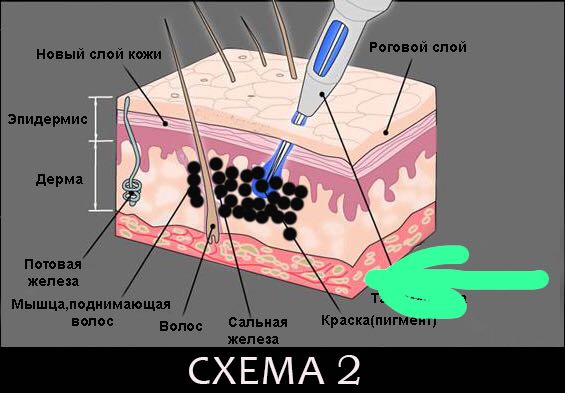
And as you see in the pic blood capillaries are located deeper and there is no reason to work so deep because:
- pigment doesn’t stay in this layers
- and part of pigment healed very cold (flat) colour that’s doesn’t looks beautiful
That’s why deep technique like microblaiding always heal colder , because it goes deeper into the skin
I hope it helps to understand better ❤❤❤
